
In this article
You’ve felt it. Halfway through a cold morning your legs are clammy, you’re convinced the waders finally gave up, and when you peel them off in the parking lot the outside is bone dry. It was your own sweat the whole time. The same handful of mistakes come up over and over in winter fishing threads, and almost none of them are solved by spending more money. The best cold-weather fishing clothing isn’t a jacket you buy once, it’s a stack you build from the skin out and then adjust depending on whether you’re running a boat, standing in a river, or sitting still on the ice. Here’s how the whole thing fits together, layer by layer, and what changes when your setup changes.
Why Cold-Weather Fishing Clothing Is a System, Not an Outfit
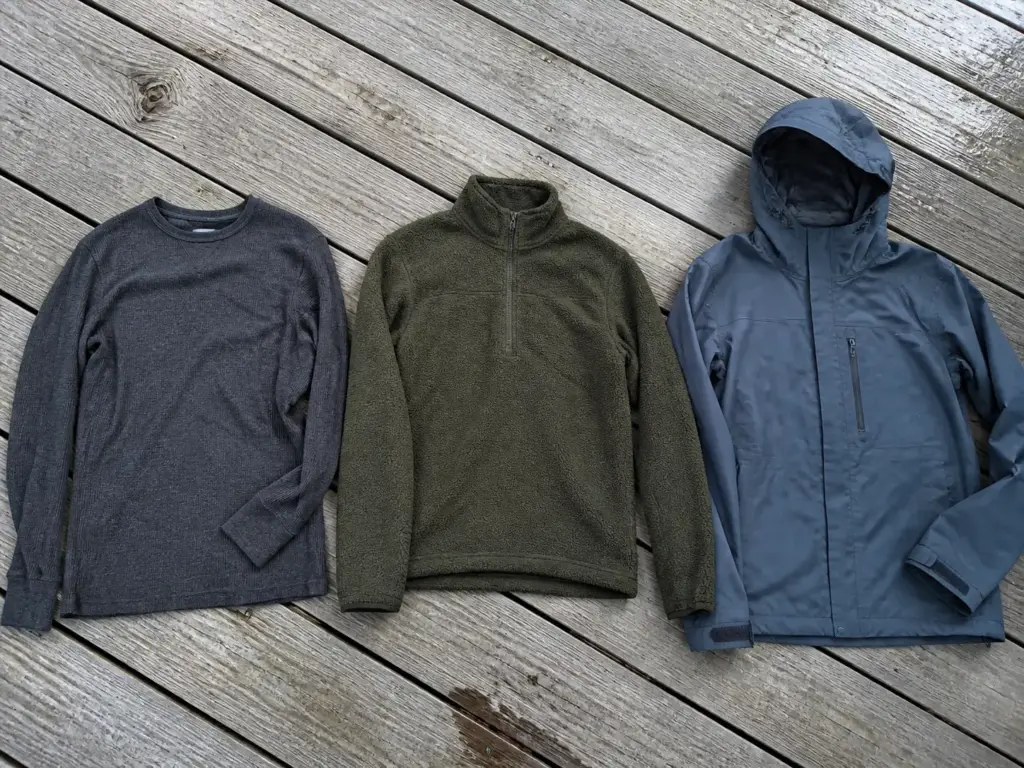
Nobody shows up to a 30-degree morning without warm clothes. That’s not the problem. The problem is that most anglers own five warm things that all do the same job and none that do the other two, so the pieces end up fighting each other. Cold-weather gear is one season-specific branch of the bigger question of dressing for the water, and if you want the full rundown on fishing apparel it starts from the same principle: garments have jobs, not temperature ratings.
The Three Layers and What Each One Actually Does
The base layer moves moisture off your skin. That’s its entire assignment. It isn’t there to be warm, it’s there to keep the layer above it from getting wet.
The mid layer traps still air. Fleece, quilted synthetic fill, wool, they all work by holding a pocket of air that you heat up and then keep heated. The mid layer is where your warmth actually comes from.
The outer shell blocks wind and water coming in, while letting vapor out. It’s the bouncer.
Here’s the part that matters: each layer fails if the one underneath it fails. A 30,000mm shell over a wet cotton tee is a wet cotton tee with a nice raincoat on top. You cannot buy your way past a broken base layer, and plenty of anglers try every winter.
Why “Just Wear More” Stops Working
Warmth is not a property of a garment. It’s a property of dry, still air held close to your skin, which means a jacket doesn’t warm you, it just slows down how fast you lose what you already made. Wet insulation stops holding still air, because the air pockets fill with water instead. Cotton is the worst offender by a wide margin, but any soaked layer does the same thing on a smaller scale.
So piling on more of the same doesn’t compound. Two damp fleeces are not twice as warm as one, they’re two wet things pressed against you.
Build the stack so every piece comes off independently while you’re wearing the one above it. If you have to strip a shell and unclip waders in a rocking boat to shed a pullover, you’ll just leave the pullover on and sweat. The gear you can adjust is the gear that works.
The Stationary Problem Nobody Designs For
Fishing is strange among cold-weather activities. Skiing assumes you’re moving the whole time and vents accordingly. Winter hiking assumes the same. Fishing is thirty seconds of hard work, then twenty minutes of standing perfectly still, then a burst of activity again when something eats.
That rhythm is why ski clothing underperforms on the water even when it’s technically warmer. It’s tuned for a heat output you’re not producing most of the day. Wind makes the gap worse, and it’s a measurable effect, not a vague one.
What Changes on a Boat vs Wading vs the Ice
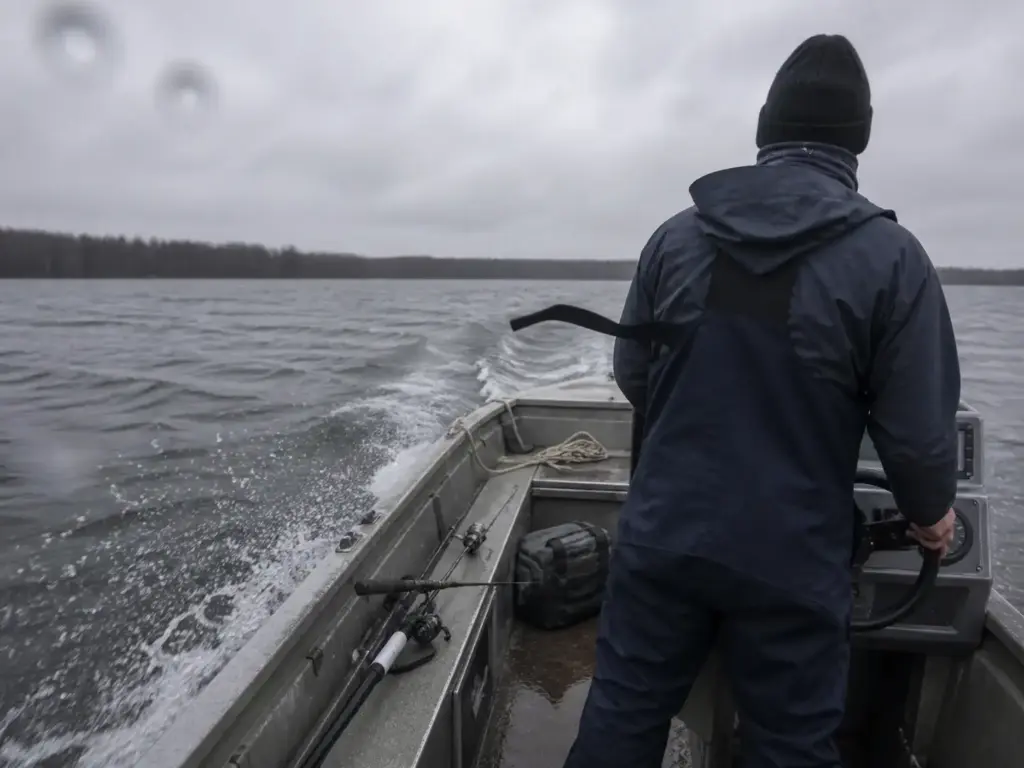
Two anglers, same 35°F forecast, same morning. One is running twenty minutes across open water to a point; the other is standing thigh-deep in a river with almost no air moving at all. They are in completely different conditions, and the one who bought the wrong shell is the one packing up at noon telling everybody the bite was slow.
Every guide you’ll read treats “winter fishing” as a single condition. It isn’t. Staying warm fishing in one setup and staying warm in another are different problems with different answers. Your base layer and mid layer stay the same across all three scenarios. Your shell changes. That’s the honest version, and it saves you a few hundred dollars.
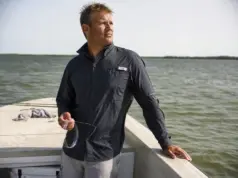
Boat Fishing: Wind Is the Whole Story
On a boat, wind chill is the dominant variable and it’s not close. The National Weather Service formula is only defined below 50°F with wind above 3 mph, and when you run the actual numbers, 35°F air with 15 mph of apparent wind lands around 19°F on exposed skin.
The thing anglers miss: you generate that wind yourself. A boat running 20 mph on a glass-calm morning is producing 20 mph of apparent wind across your chest and thighs. The forecast said “light and variable.” Your body says otherwise about four minutes into the run.
So on a boat, the shell’s first job is stopping wind. Breathability is second, because you’re not producing much heat sitting on a deck anyway. This is also where a full insulated bib beats a jacket-and-pants combo, since the biggest wind leak on a boat is the gap at your waist when you lean over the gunwale to net a fish.
Wade Fishing: The Water Takes the Heat, Not the Air
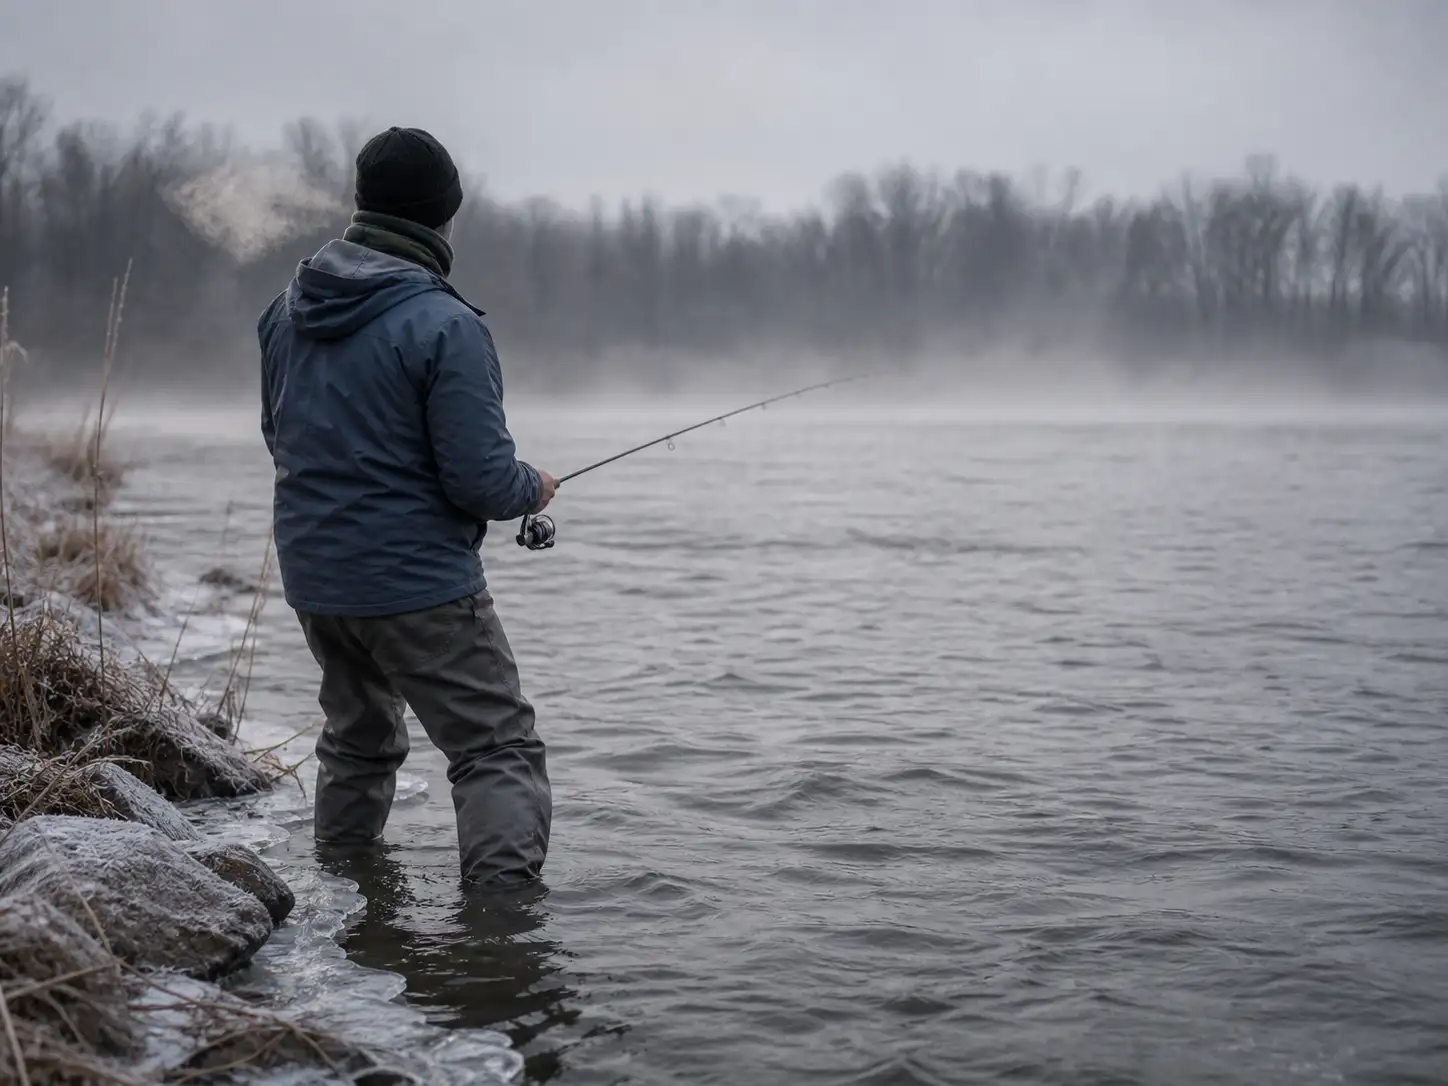
Standing in 40-degree water flips the problem. Water pulls heat off you far faster than air at the same temperature, so your legs are losing heat by direct conduction while your upper body is working hard enough to sweat. Meanwhile there’s usually almost no wind down in the river corridor.
Wind blocking barely matters here. Breathability is everything. The failure mode for a wade angler isn’t freezing inside a shell, it’s cooking inside one and then chilling out when the wading stops. If you’ve ever unzipped a jacket in the middle of a run in January because you were genuinely too warm, that’s the mechanism, and it’s the setup for the trap in the next section.
Ice and Bank Sitting: Nothing but Insulation
Ice fishing from a bucket for four hours is the only fishing scenario with no exertion heat at all. No walk-in warmth to carry you, no casting rhythm, nothing. Insulation does one hundred percent of the work, which is the one case where buying the heaviest base layer on the rack is actually correct.
This is also where flotation-rated bibs enter the conversation, since a bib that floats is doing a different job than a bib that insulates. More on that further down. If you’re posted up on a bank instead of ice, the layering math is identical, and the tactics side of fishing cold water from the bank pairs with the same stationary-cold problem.
Dress for the run, not the destination. If you’re going to be doing 25 mph across open water for fifteen minutes, put the shell on at the ramp with everything zipped, then vent once you’re anchored and working. Anglers who dress at the spot spend the whole run cold and never fully recover for the rest of the morning.
Base Layers That Actually Move Sweat
This is the layer nobody sees and everybody cheaps out on, and it’s the one that decides whether the other two work at all. The cotton hoodie under the waders is the single most common unforced error in winter fishing, and it’s usually made by someone who spent good money on the waders.
Why Cotton Fails (And What “Cotton Kills” Actually Means)
Cotton is hydrophilic, meaning its fibers are structured to soak up water and hold onto it rather than shed it. When they do, the air pockets that would have insulated you fill with water instead, so the fabric loses nearly all its insulating ability. Then it dries extremely slowly, meaning it stays that way for the rest of the day.
That’s the mechanism behind the old outdoor shorthand about cotton being the fabric that gets people hurt. It isn’t that cotton is cold. It’s that once it’s damp, it actively pulls heat off your skin for hours, and on a winter morning your own sweat is more than enough to soak it. A cotton layer under a waterproof shell is a heat sink you strapped to your chest.
Merino vs Synthetic: The Honest Comparison
Both work. Anyone telling you otherwise is selling something. If you want the deep version, here’s how merino and synthetic base layers compare head to head, but the short answer fits in a paragraph.
Merino wool keeps insulating even when it’s damp, and it resists odor well enough to wear across a multi-day trip without anyone commenting. It costs real money and it wears out faster at the elbows and heels.
Synthetic wicks faster, dries faster, costs a fraction, and shrugs off abrasion. It also starts smelling by dinner on day two. Neither choice is a warmth compromise, they just fail in different directions.
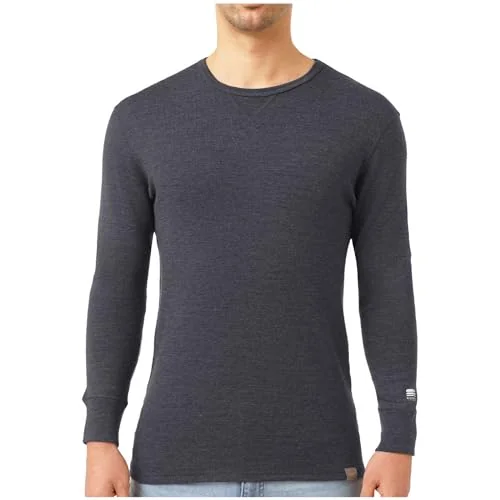
If you’re building the bottom half of the set too, the matching heavyweight merino bottoms run under waders without bunching at the knee, which is more than you can say for most thermal pants.
Reading gsm Weights So You Don’t Overbuy
Merino is sold by fabric weight in grams per square meter, and the bands are roughly consistent across brands. Lightweight sits around 150 to 200 gsm, midweight around 250 to 300, heavyweight around 320 to 400. That number is the single most useful spec on the tag and almost nobody reads it.
Here’s where it costs people: buying “the warmest one” is the wrong instinct if you move. An angler walking a bank and casting all day wants midweight. Someone parked on a bucket wants heavyweight. Buy heavyweight for an active day and you will sweat through it in the first mile, which sets up the exact trap in the next section.
Budget reality check: a synthetic thermal set does most of this job. The Thermajohn Long Johns thermal set wicks and dries fast for a fraction of what merino costs, and for a handful of trips a winter that’s the smarter buy. Merino is a comfort and odor upgrade, not a warmth requirement.
The Sweat-Then-Freeze Trap
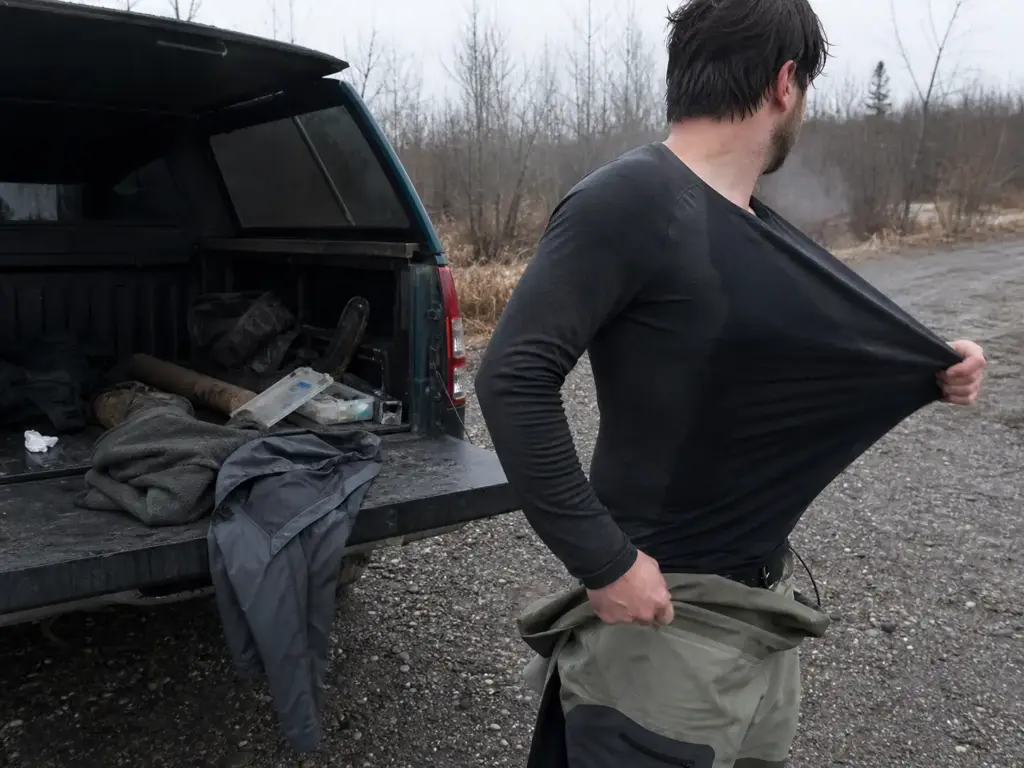
Name the mistake before the fix: you overdress for the walk, the paddle, or the sled drag to the spot. You arrive warm, slightly damp, feeling smug about how well you dressed. Then you stand still for three hours in wet clothes and you’re colder at 10 a.m. than the guy who showed up shivering.
This is the thing that separates people who have fished a lot of winters from people who have read about layering. Nearly every angler has lived it and almost nobody has had it named for them.
Why You Get Cold After You Stop Moving
Your body dumps excess heat by sweating. That’s true at 20 degrees just like it’s true in July, and hauling gear across a frozen bank generates plenty of it. The vapor rises into your insulation, hits the cold inner face of your shell, and condenses there as liquid water.
Now your mid layer is damp from the inside. It was never rained on. Water conducts heat away from you far faster than still air does, so the moment your heat production drops, that dampness starts pulling warmth out at a rate your body can’t match. Shells vent vapor when it stays vapor, and understanding how breathable membranes actually move vapor explains why they lose the race when you outproduce them. There’s a ceiling on how fast a membrane can move moisture, and a hard fifteen-minute walk-in blows straight through it.
This is the same mechanism as the cotton problem in the previous section, generalized. Any wet layer stops insulating. Cotton just gets there faster and stays there longer.
Start Cold, Finish Warm
The fix costs nothing. Strip a layer before the walk in and be deliberately, mildly uncomfortable for the first ten minutes. You should be thinking “this was a mistake” at the truck and “this was smart” at the water.
Then, once you’re stationary and rigged, put the mid layer back on before you feel cold. That timing matters more than the garment does. Adding insulation once you’re already chilled means asking your body to reheat a stack of cold fabric with heat it isn’t currently making, and it takes a long time.
Carry the mid layer, don’t wear it. Stuff the fleece in the top of your pack or the front hatch and walk in wearing base plus shell only. Ten minutes of feeling underdressed buys you six hours of being dry, and dry is what warm is made of.
The Vents That Matter More Than Insulation
Once you understand the mechanism, pit zips and long front zips stop looking like features and start looking like the whole point. A shell you can crack open on the move dumps vapor before it condenses, which does more for your afternoon than another 60 grams of fill ever will.
The wader threads are full of anglers convinced their gear leaked, right up until someone points out the outside was dry the whole time. It’s almost never a leak. It’s the walk in.
And it circles back to gsm: buying too heavy a base layer causes this problem rather than solving it. Weight matched to exertion is the actual fix, and it’s free if you buy right the first time.
Mid Layers and Insulation That Earns Its Bulk
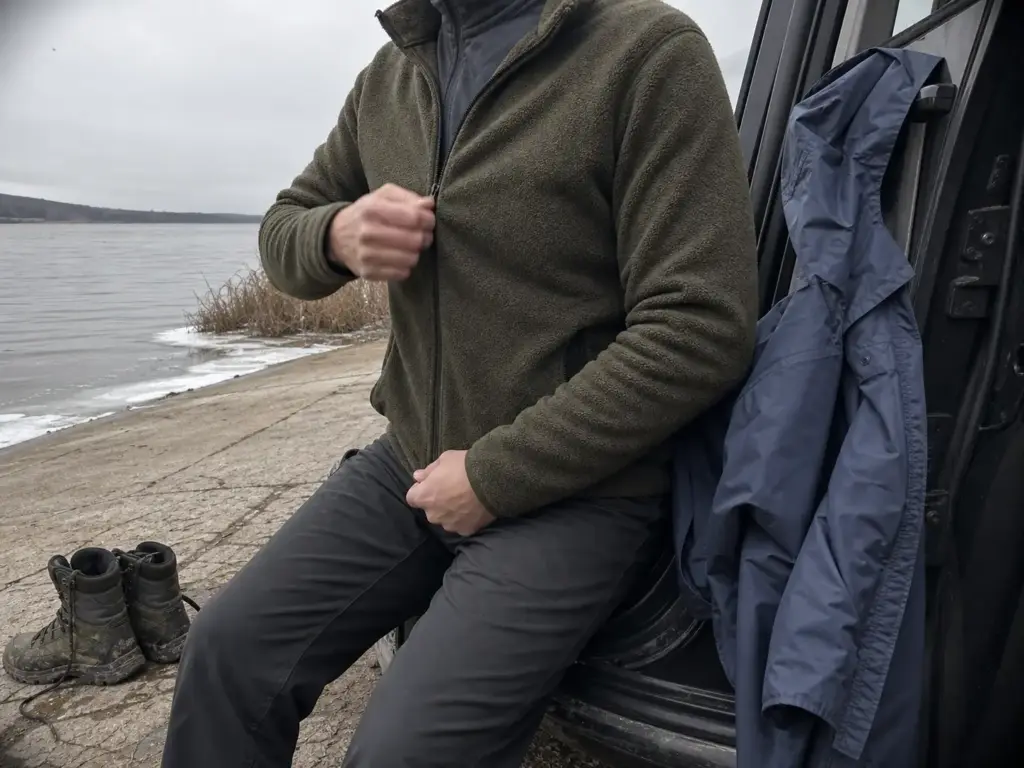
The mid layer is where anglers overbuy the hardest, because it’s the layer that looks warm on the rack. The question is never whether something is warm. It’s whether it still works damp and whether you can get it off with a shell and waders already on.
Fleece, Synthetic Fill, and Why Down Sits This One Out
All insulation does the same thing by different means: it traps still air and holds it near you. Fleece does it with lofted pile. Quilted synthetic fill does it with springy polyester fibers. Wool does it with natural crimp.
Down is warmer per ounce than any of them and it’s the wrong choice on the water. Wet down collapses into clumps and stops trapping anything, and on a boat you have spray, condensation, and your own sweat working against it all day. Synthetic fill loses some loft when wet and keeps working. That’s the whole argument. Save the down jacket for the truck ride home.
Matching Mid-Layer Weight to How Hard You’re Working
Fleece is graded 100, 200, and 300, and the logic maps cleanly onto base-layer gsm. Match it to your exertion level, not to the scariest number on the forecast. A 200-weight fleece with a good shell over it handles more cold than most anglers expect, because the shell is doing the wind half of the job.
Two thin mid layers beat one thick one for the same total warmth. You get more adjustment range, and adjustment range is what keeps you out of the sweat trap.
The Full-Zip Rule
If you can’t remove the mid layer without stripping your shell and dropping your waders in a rocking boat, it’s the wrong mid layer. A pullover fails this test every time. Full zip, always, even though it costs a little more and weighs a little more.
The same logic applies to what goes over it, and the mechanics of layering under rain gear are worth understanding before you commit to a shell size, because a shell cut for a t-shirt won’t close over a winter stack.
Outer Shells, Bibs, and Waders
This is the expensive layer and one of the few places in fishing gear where the numbers on the tag are real information instead of marketing. Learn to read two of them and you’ll never overpay again.
What mmH2O and MVTR Actually Tell You
Waterproof-breathable shells carry two ratings. mmH2O measures waterproofness, expressed as how tall a column of water the fabric holds back before it leaks. MVTR measures how much vapor the membrane passes outward in a day.
Quality wading jackets and fishing bibs run 10,000mm to 30,000mm. That range is not marketing noise. A 5,000mm shell wets through in driving rain or sustained boat spray inside an hour. A 20,000mm-plus shell won’t, and you can feel the difference on a bad day without owning a lab.
One spec that isn’t on the tag and matters as much: adjustable cuffs. A shell that seals at the wrist with a hook-and-loop tab keeps water from running up your forearm when you reach into the net, and it lets you dump heat by opening both cuffs without unzipping the whole front. Elastic-only cuffs give you neither.
“Wetting Out” Is Not a Leak
Here’s the thing that sends perfectly good jackets to the donation pile. The outer face fabric has a durable water repellent finish sprayed on it, and that finish wears off with use, grit, and sunscreen. When it’s gone, the face fabric starts absorbing water on the surface even though the membrane underneath is still blocking everything.
You feel a cold, clammy, wet-feeling jacket and conclude it failed. It didn’t. The membrane is fine; the outside is saturated and that kills breathability, so your own vapor backs up inside. This is called wetting out and the fix is a DWR refresh, not a new shell. Wash the jacket, run it through a wash-in or spray-on treatment, tumble it warm to reactivate. Twenty minutes and a few dollars instead of a few hundred.
Bibs for the Boat, Waders for the River
For the boat, an insulated bib is the correct answer and it isn’t close. It covers your core and legs as one piece with no gap at the waist, the insulation is already built in so you’re not stacking a separate mid layer under a shell, and the high back stops the wind that gets you when you bend over the transom.
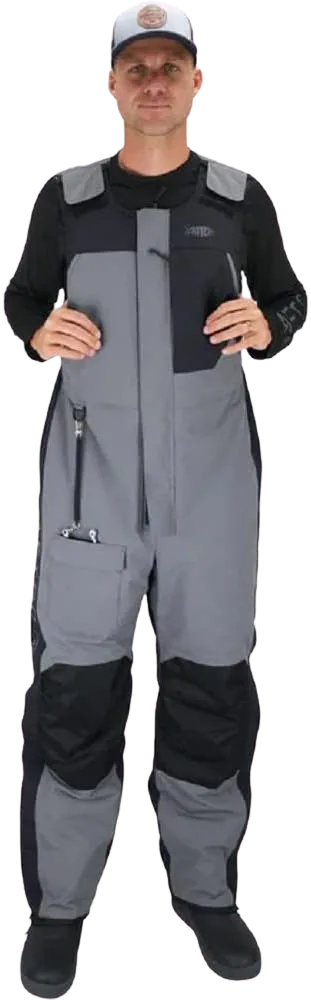
If that’s more than you want to spend for a handful of trips a winter, the work-wear aisle gets you most of the way there, and this is the piece that proves it.
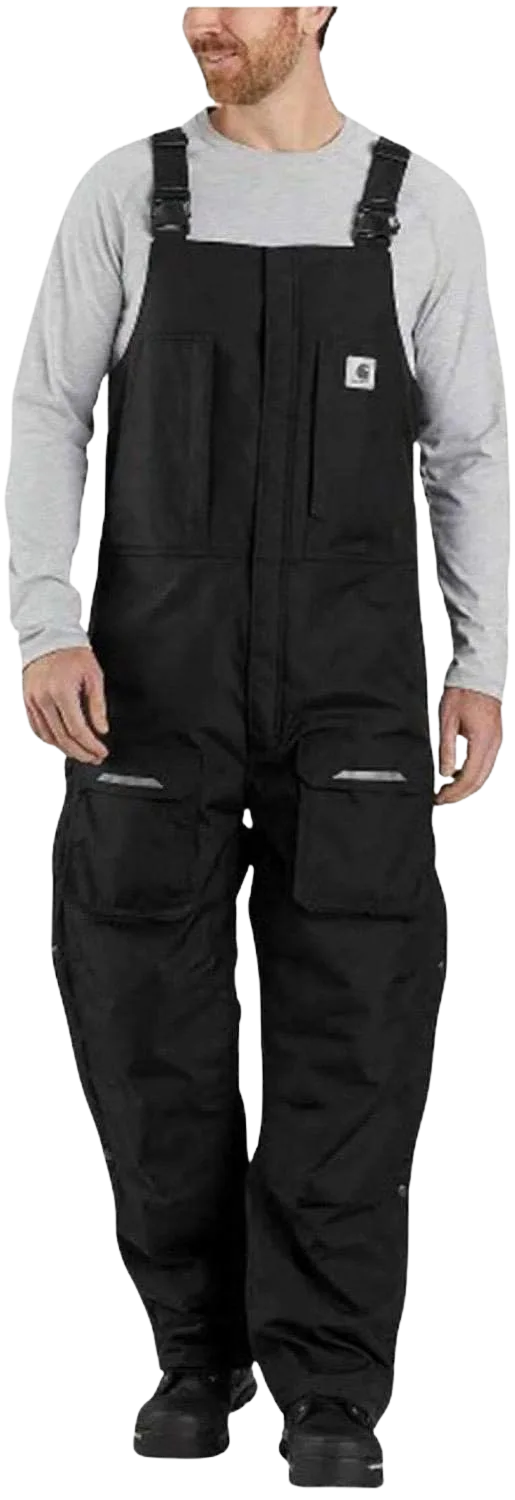
For the river, the answer flips. You want breathable stockingfoot waders and a separate wading jacket, because you’re generating heat and standing in conductive cold at the same time. Insulated neoprene sounds appealing at 34 degrees until you’ve walked a half mile in it. The trade-offs between neoprene versus breathable waders in cold water come down to how much walking you do, and most winter anglers walk more than they think.
Sizing for the Winter Stack
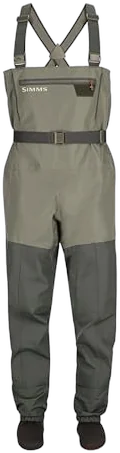
This one costs people real money and nobody warns them. Waders and bibs sized against a t-shirt will compress your base and mid layers flat once you add them, and compressed insulation holds no air. You end up colder in more clothing, which feels like a gear failure and is actually a fitting-room failure.
Try the winter stack on in the store, or size up if you’re ordering. The same principle governs sizing waders correctly in any season, it just bites hardest in December. You want to be able to squat all the way down and reach overhead with the full stack on, and if you can’t, the waders are too small no matter what the size chart says.
Hands: The Dexterity Problem
Everybody solves this wrong the first winter. You buy the warmest gloves in the store, discover you cannot tie a clinch knot in them, take them off, and finish the day with colder hands than if you’d bought thinner gloves you’d have actually kept on.
Why Thick Gloves Cost You Fish
The mechanism is simple and it has two separate failures from one cause. Insulation thickness sits between your fingertips and the line, so you lose tactile feedback and you lose fine motor control at the same time.
Losing feel means missing the subtle take, the one that registers as slight extra weight rather than a thump. Losing motor control means you can’t tie a knot, clip a split ring, or work a zipper, so the gloves come off every three minutes. And bare hands in cold air lose heat faster than lightly gloved ones, so each removal digs the hole deeper. There’s more on the specifics of glove sizing and dexterity, but the trade-off itself is the thing to internalize.
Fold-Over and Fingerless: The Working Compromise
The design anglers actually converge on is the fold-over mitt: a mitten shell that flips back and clips out of the way, exposing your fingers for knots and hooksets, then flips closed for warmth between casts. It’s a compromise on both ends and it beats winning at either one.
Touchscreen gloves are worth a word here, because they solve a different problem than the one you have. Conductive fingertips let you work a phone or a fish finder without stripping down, which is genuinely useful, but the ones thin enough to work reliably are too thin to keep you warm, and the warm ones are too thick to register. Treat the touchscreen panel as a bonus on a glove you’d buy anyway, never as the reason you bought it.
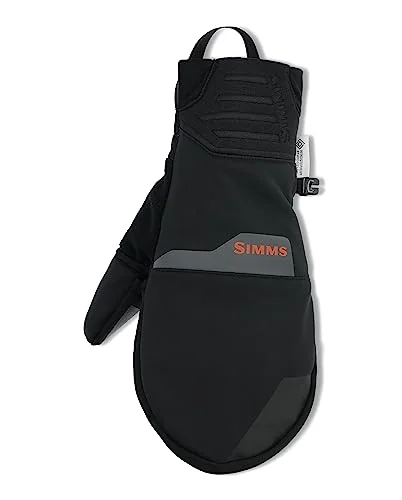
If you’re mostly running a boat and handling wet lines rather than tying constantly, a straightforward sealed glove makes more sense than a convertible. The Gill Thermal Waterproof Gloves cover that case for a lot less, and they stay warm when your hands are in and out of the water netting fish. Either way, if you want to compare a broader field of cold-water fishing gloves, the fold-over versus full-finger decision is the fork in the road.
Liners: Layering for Your Hands
Here’s the piece almost nobody applies to hands even though they’d never skip it on their torso: run a liner. A thin merino glove liner under a bulkier outer means that when you flip the mitt back to tie, your fingers aren’t bare, they’re in a thin wool layer you can still feel line through.
A Minus33 merino wool glove liner costs less than a pack of jigs and it changes the arithmetic of the whole hand problem. Same layering logic as everything else in this article: a moisture-moving layer next to skin, insulation over the top, adjust the outer without ever exposing the inner. The fumbling-a-knot-with-numb-fingers routine is exactly what the liner-plus-fold-over combination exists to end.
Pre-tie your leaders at the kitchen table the night before and store them on a leader wallet. Six ready-to-go rigs means six knots you don’t have to tie with cold fingers on the water, and it’s the cheapest dexterity upgrade there is.
Head, Neck, and Feet
These are the pieces people buy last and notice first. Cold ears end a trip faster than a cold torso ever will, and cold feet inside waders is the most misdiagnosed problem in winter fishing by a wide margin.
Ears, Neck, and the Cheapest Warmth You’ll Buy
Your ears and the back of your neck are concentrated heat-loss points with almost no insulating tissue over them. A beanie and a neck gaiter together cost less than anything else in this article and return more per dollar than everything except the base layer.
A basic ribbed knit cap like the Carhartt Adult Knit Cuffed Watch Hat does the job and fits under a hood without pushing the hood off your head, which the thick fleece ones do. That interaction is worth checking before you buy: good hood design means a hood that closes around a beanie and still turns with your head, and a hood cut for a bare skull will fight you all morning.
A balaclava is the next step up when the wind is genuinely brutal, since it covers the head, ears, neck and lower face as one piece with no gaps to seal. It’s more coverage than most winter days ask for, and it’s the right call on an exposed ice or open-water run.
The gaiter has a second job people miss: it seals the gap at your collar where wind gets under the shell and runs straight down your chest. It’s a draft stopper more than a scarf. A dual-use piece like the KastKing Agies UPF 50 neck gaiter also handles the glare on bright cold days, when the sun off the water is doing more to your face than you’d guess in February. If you want to compare options, we’ve covered neck gaiters in more depth.
The Two-Sock System
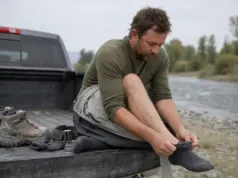
This is the fix for cold feet in waders and it’s been standard among guides for decades. A thin synthetic or merino liner sock goes against your skin and moves moisture outward. A heavier insulating sock goes over it and holds still air.
The liner is the part people skip and it’s the part that matters. Without it, sweat sits on your skin and your feet chill in the exact way described in the sweat-then-freeze section, just localized. A merino thermal over-the-calf sock works well as the next-to-skin layer, and a pair of neoprene wading socks over the top gives you the insulating outer half inside a stockingfoot bootie.
Here’s the misdiagnosis that costs people the most: most “leaky waders” are trapped perspiration. Anglers buy bigger boots, then better waders, then heated insoles, when the actual fix was a five-dollar liner sock. Feel the inside of your wader legs after a cold day; damp on the inside with a dry outside tells you everything. There’s a full breakdown of the sock system in detail if you want to get it right the first time.
Insulated Boots for Standing Still
Waterproof and insulated are two different specs and the boot aisle blurs them on purpose. Most wading boots are built for walking: they keep water out, drain fast, and let your foot heat do the rest, which is exactly wrong for a stationary day. A boot built for standing on a dock or a bank for four hours has real insulation packed into it, and the comfort ratings tell you which is which.
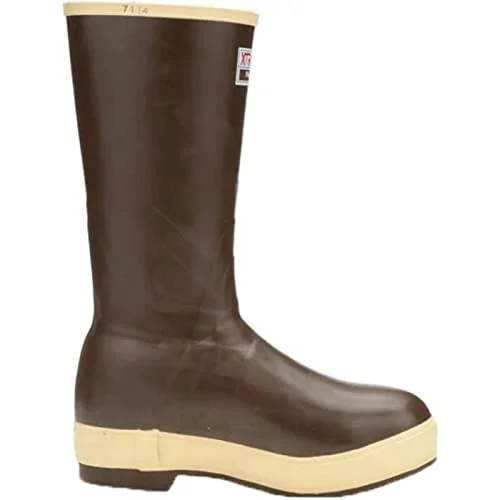
Same sizing warning as the waders: a boot fitted around a summer sock crushes the two-sock system flat, and a crushed sock system insulates about as well as one thin sock. Buy the boot around the socks you’ll actually wear, not the ones on your feet in the store in October.
Cold Water Safety Is Part of the Outfit
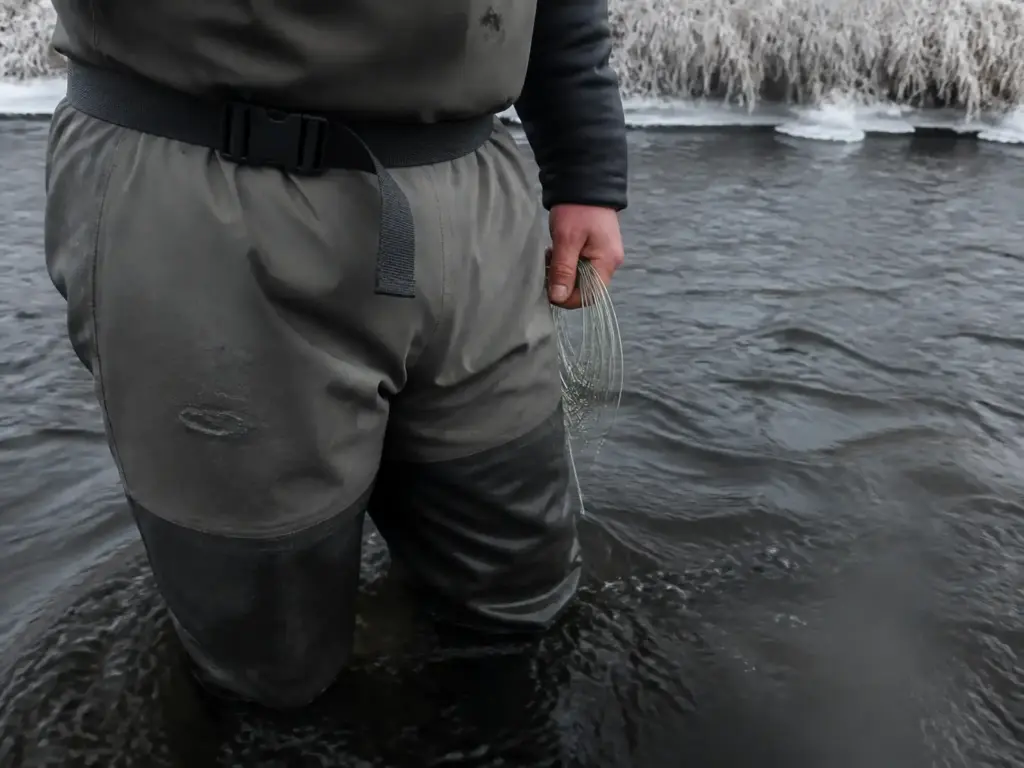
Your clothing is the first layer of your cold weather safety plan, not a separate topic you get to skip because you’re a good swimmer. The facts here are worth knowing flatly, without drama, because the reality is less cinematic and more useful than most people assume.
Cold Shock Hits Before Hypothermia Does
The first hazard is not hypothermia. It’s the cold shock response, which occurs in water below 77°F and peaks in severity between 50 and 59°F, producing an involuntary gasp and uncontrolled hyperventilation within the first three minutes of immersion. That’s according to the National Weather Service’s cold water safety guidance, and it’s the reason a sudden fall into cold water is worse than the cold itself: the gasp can pull water in before you’ve made a single swimming stroke.
Fifty-nine degrees. That’s a pleasant swimming temperature in July and a serious problem in a fall you didn’t plan for. The counter to it is knowing it’s coming, getting your face out, and giving the gasp reflex the ninety seconds it needs to pass before you try to do anything useful.
The good news is that you have more time than the movies suggest. It takes roughly 30 minutes for an average adult to develop hypothermia after cold-water immersion, even in near-freezing water. Panic is the faster hazard in that first half hour.
What 95°F Actually Means
Hypothermia begins clinically at a core temperature of 95°F. That’s 3.6 degrees below normal, which is a smaller gap than most people picture when they hear the word.
That small a drop already impairs judgment and coordination, which is what turns a manageable situation into an unmanageable one. You don’t lose consciousness, you lose the ability to make good decisions and operate your hands, in that order. Buckle a wading belt, or don’t, is a decision made at 98.6 degrees, and it has to be made then.
There’s also the piece almost nobody plans for. Afterdrop means core temperature keeps falling even after someone is out of the water, which the National Center for Cold Water Safety’s breakdown of hypothermia’s stages covers in detail. Getting a soaked angler onto the bank isn’t the end of it. They keep cooling until they’re in dry layers and warmth.
Dry Layers Are Safety Gear
Which makes a spare base layer in a dry bag a piece of safety equipment, not a luxury. It’s a clothing decision with a safety consequence, and it costs you almost nothing to have one rolled in the bottom of your pack all winter.
For ice and open water, flotation-rated bibs and suits are a separate category from warmth. A bib that floats and a bib that insulates are doing two different jobs, and the flotation version is the one that buys you the time the cold shock window demands. If you’re on ice or running open water alone in winter, that’s the version to buy.
For the wading reader, the cheapest cold-water safety device you own is already on your waders. A properly cinched wading belt limits how much water floods your legs if you go in, which keeps you swimmable instead of anchored. It takes four seconds to snug it and most anglers wear it loose because they don’t like the pressure. Snug it anyway.
What to Buy First When You Can’t Buy It All
Nobody assembles this whole stack in one shopping trip, and you shouldn’t. Bought in the right order, the cheap stuff carries most of the load and you can spread the expensive stuff across a few seasons without ever having a bad day on the water.
The Order to Buy In
Buy in this order, and this order is not a coincidence:
- Base layer. Cheapest fix, biggest return, and it’s the piece everything else depends on.
- Wind-blocking shell. Doesn’t have to be premium, has to stop wind.
- Hands, head, and neck. Small money, huge comfort delta, and the pieces that end trips early when missing.
- Insulated boots or the sock system. Depends on whether you stand still or move.
- Premium anything. Last, and only after the four above are solved.
Notice that the four cheapest categories come first. That’s the actual finding, and it’s inconvenient for anyone trying to sell you a shell.
Where the Money Is Actually Worth It
Premium gear earns its price in one specific set of conditions: sustained wind, constant spray, and driving rain. That’s the boat scenario, and there a high-mmH2O shell is a genuine upgrade you’ll feel by hour two.
On a calm bank morning at 38 degrees, that same shell is doing almost nothing a work jacket wouldn’t do. Same garment, same tag, completely different value depending on where you stand. So buy premium for the conditions you fish most, not for the worst conditions you can imagine.
Expect to spend somewhere in the range of $60–$120 to cover a solid synthetic base layer set, a beanie, a gaiter, and a decent pair of liner-plus-outer gloves. That’s the whole high-return end of the list, and it’s less than one premium shell.
The Work-Wear Aisle Nobody Mentions
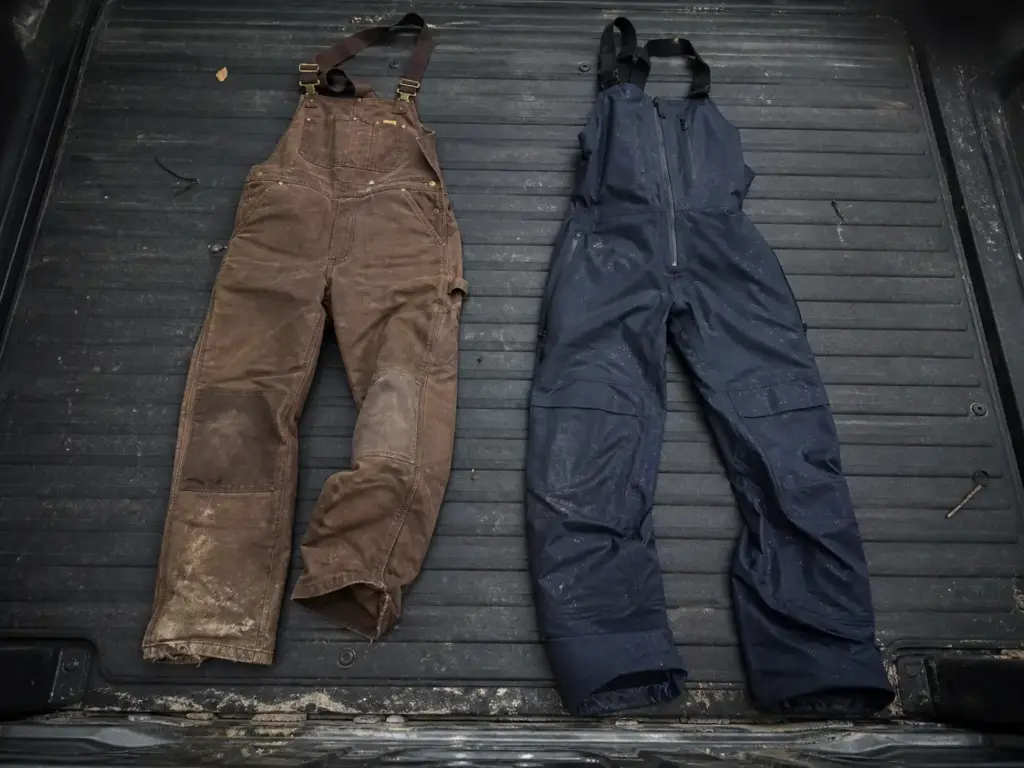
Here’s the part the premium roundups structurally can’t write. An insulated Thinsulate biberall with a DWR finish from the work-wear aisle covers the large majority of moderate cold-weather trips, and pairing it with a proper synthetic or merino base layer gets you a functioning system for a fraction of what a technical setup costs.
Say the honest ceiling too, because that’s what makes the rest credible. Budget gear’s failure mode is comfort and durability across seasons, not warmth on a given day. The DWR wears out sooner, the cut is baggier, the zippers get cranky in year three. What it does not do is leave you cold on a normal winter morning.
And the most expensive mistake in this whole article: don’t buy insulation to fix a moisture problem. Anglers upgrade the shell every year when the actual failure was a cotton base layer and a fifteen-minute walk in. New shell, same wet shirt, same cold afternoon, another few hundred dollars gone.
Once the clothing’s sorted, the rest of the cold-weather kit is a shorter list than you’d think, and it’s worth knowing what cold water does to your line before you spend money solving a problem you don’t have there either.
The Bottom Line on Dressing for Cold Water
Three things to carry out of this. The stack beats the coat, every time, in every scenario. Your shell changes depending on whether you’re on a boat, in a river, or on ice, and your base and mid layers don’t. And start cold, because the angler who’s mildly uncomfortable walking in is the one still fishing at three o’clock.
Before your next cold trip, lay the whole stack out on the floor and check it against the setup you’re actually fishing, not the one in the catalog photo. Most anglers find they already own the layers and have been wearing them in the wrong order, with the wrong one against their skin. That’s a free fix, and it’s the one that changes the most.
Frequently Asked Questions
01What should you wear fishing in cold weather?
Wear a three-layer stack: a merino or synthetic base layer, a fleece or synthetic-fill mid layer, and a waterproof-breathable outer shell, plus a beanie, neck gaiter, gloves and a two-sock system. Your base and mid layers stay the same everywhere; the shell changes depending on whether you are on a boat, wading, or sitting still.
02Is merino wool or synthetic better for a fishing base layer?
Both work, and neither is a warmth compromise. Merino wool keeps insulating when damp and resists odor over multiple days. Synthetic wicks faster, dries faster and costs far less. Pick merino for multi-day comfort, synthetic for hard use and a smaller budget.
03Why do my feet get cold in waders even though they aren’t leaking?
It is almost always trapped perspiration, not water intrusion. Sweat has nowhere to go inside a waterproof bootie, so it sits against your skin and pulls heat away. Add a thin merino or synthetic liner sock under a heavier insulating sock, and size your boots around both.
04How do you keep your hands warm fishing in the winter?
Use a fold-over or fingerless design over a thin merino glove liner, so you never go fully bare-handed to tie a knot. Thick gloves fail because you remove them constantly, and bare hands in cold air lose heat faster than lightly gloved ones.
05What water temperature is hazardous for cold-water immersion?
Cold shock response begins in water below 77°F and peaks between 50 and 59°F, causing an involuntary gasp within the first three minutes. Hypothermia begins clinically at a 95°F core temperature and typically takes about 30 minutes of immersion to develop.
Risk Disclaimer: Fishing, boating, and all related outdoor activities involve inherent risks that
can lead to injury. The information provided on Master Fishing Mag is for educational and informational purposes
only. While we strive for accuracy, the information, techniques, and advice on gear and safety are not a substitute
for your own best judgment, local knowledge, and adherence to official regulations. Fishing regulations, including
seasons, size limits, and species restrictions, change frequently and vary by location. Always consult the latest
official regulations from your local fish and wildlife agency before heading out. Proper handling of hooks, knives,
and other sharp equipment is essential for safety. Furthermore, be aware of local fish consumption advisories. By
using this website, you agree that you are solely responsible for your own safety and for complying with all
applicable laws. Any reliance you place on our content is strictly at your own risk. Master Fishing Mag and its
authors will not be held liable for any injury, damage, or loss sustained in connection with the use of the
information herein.
Affiliate Disclosure: We are a participant in the Amazon Services LLC Associates Program, an
affiliate advertising program designed to provide a means for us to earn advertising fees by advertising and linking
to Amazon.com. As an Amazon Associate, we earn from qualifying purchases. We also participate in other affiliate
programs and may receive a commission on products purchased through our links, at no extra cost to you. Additional
terms are found in the terms of service.